Thursday, March 19, 2015

IO Challenge- Happy Flowers


Hi everyone!  Has anyone seen flowers yet this Spring?  I am still experiencing all my flowers in greeting card format so, but I am hoping to see some blooms soon!


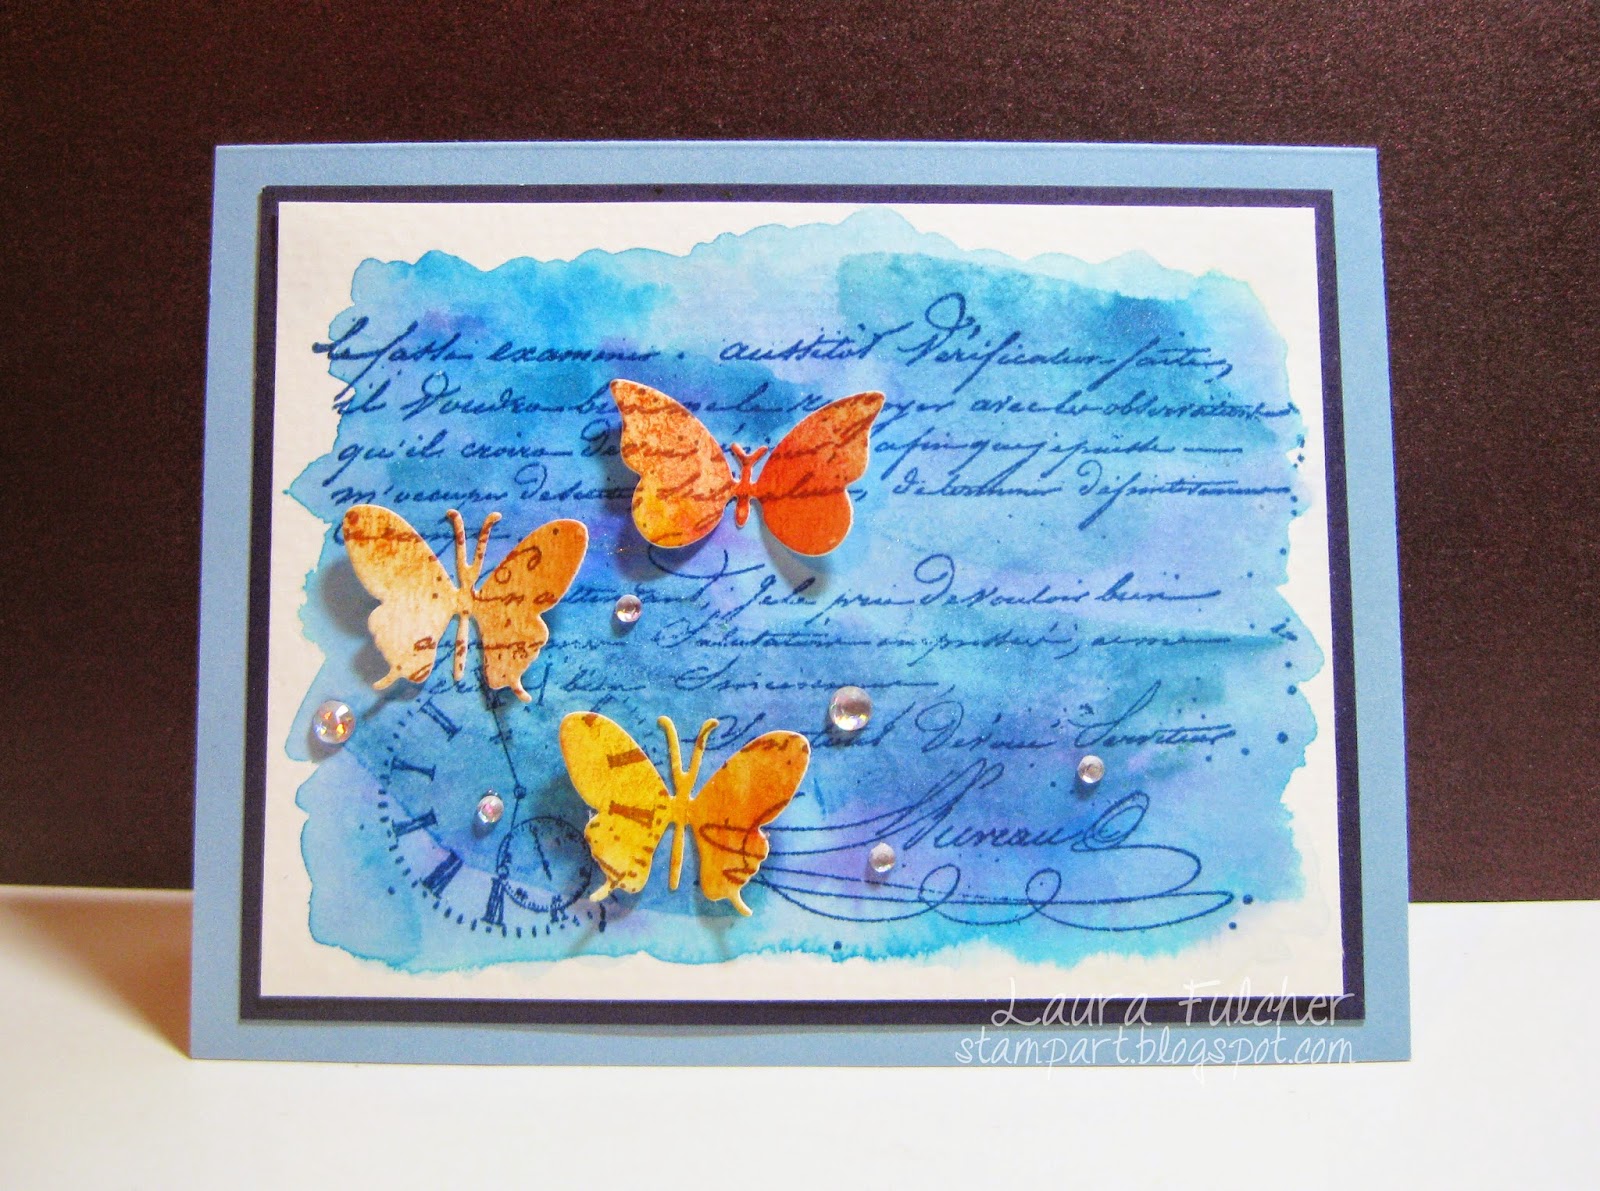
To make this card, I used a faus batik technique where I embossed the hydrangea on mulberry paper with clear powder.  I then sprayed the paper with purple inks and removed the embossing powder with a hot iron.  When I put white paper behind the mulberry paper, it really made the flowers pop.  To finish the card, I added a saying onto a die cut banner.

Items used:
Lg Solid Hydrangea Stem F8370
Banners and Tails Die DIE123-P
Warm and Fuzzies Sentiments CL492

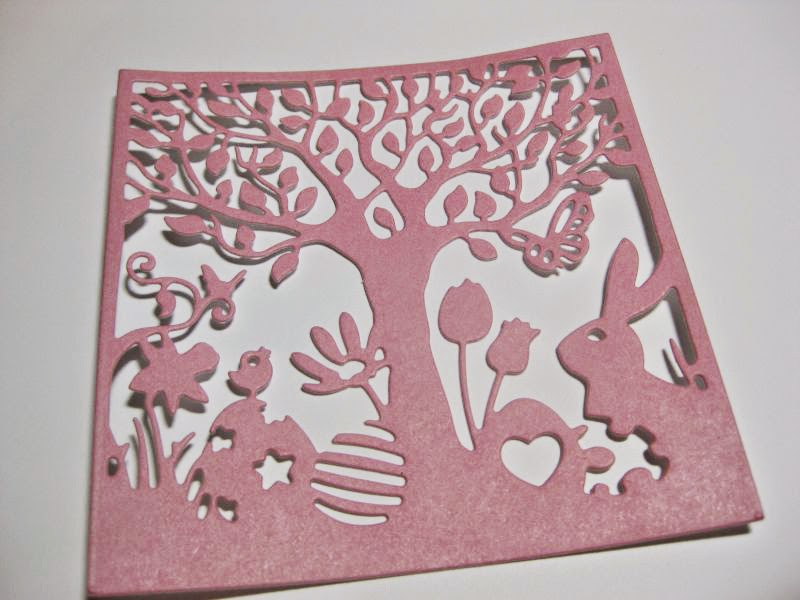
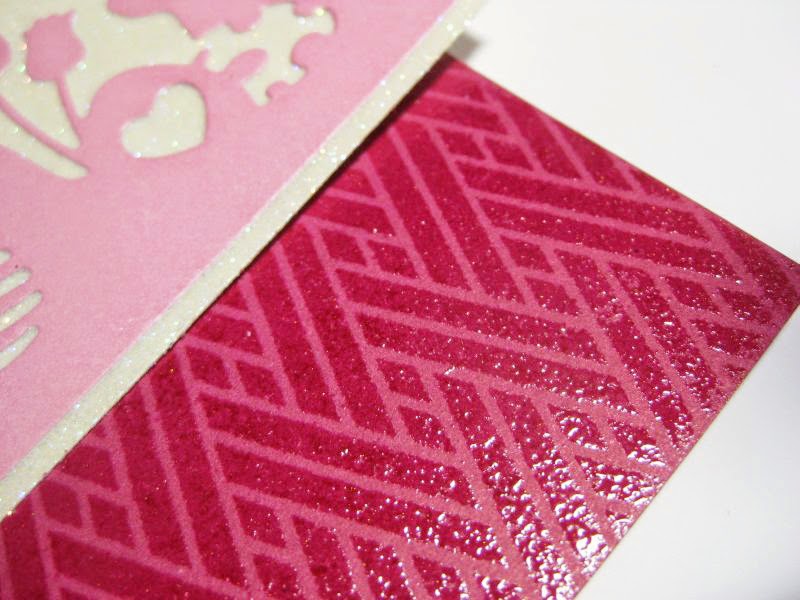
Here is a close up of the floral card:


Need more floral inspiration?  Check out the work by the other designers:


On another note, if you are a fan of Impression Obsession, I am starting a new monthly Cover a Card Mini class at Angela's Happy Stamper in Herndon, VA.  Each month will be a different technique, and we will make one full card as well as two backgrounds using the same coloring technique.   The first class is this Saturday, March 21 from 5- 6:30pm. 

The first Cover a Card technique we will be covering is embossing.  Pretty much everyone knows how to emboss, but I will have tips and ideas of different ways to incorporate embossing powders with Cover a Card backgrounds.  This is the card we will be making:


Hope to see you then!

Wednesday, March 11, 2015

IO Die Hop- Day 3


Welcome to the Impression Obsession Spring Designer Die Hop!
 
We have some beautiful new dies to share AND Gift Certificates to give away!
 The hop will start each day (March 9th – March 11th) with a list of participants on the Impression Obsession Blog at 6am EST.  The more blogs you visit each day… the better chance you will have to win a $25 Impression Obsession Gift Certificate!!!
 
All of the new dies you’ll be seeing on the hop are available NOW!
 
Today is the last day of the hop, and I really hope that you have been inspired by the various ideas.
 
For today's card,  I used the leftover butterflies (Medium Butterflies DIE255-Y) from this post.   I always like it when I save scraps and then actually use them!  I did change the butterflies a bit, but I will talk about that a bit more later.

To make the card, I started with 140lb watercolor paper and wet it with a paintbrush.  I then added blue and purple watercolor paints and let the colors blend.  Once the paint was dry, I stamped the French Letter image (J8778) on top with teal ink.  I think a script stamp is a good thing to have on hand for creating backgrounds.  
 
I then decided to stamp the same script onto my butterflies:


My original plan was to place the butterflies randomly on the card, but I decided I liked them better lined up with the background stamp.  To finish the card, I added some little rhinestones:


Don't forget to check out the other designers!
 

Tuesday, March 10, 2015

IO Die Hop- Day 2


Welcome to the Impression Obsession Spring Designer Die Hop!
We have some beautiful new dies to share AND Gift Certificates to give away!
 The hop will start each day (March 9th – March 11th) with a list of participants on the Impression Obsession Blog at 6am EST.  The more blogs you visit each day… the better chance you will have to win a $25 Impression Obsession Gift Certificate!!!
All of the new dies you’ll be seeing on the hop are available NOW!
 
Welcome to day 2 of the challenge!  For today's challenge, I wanted to show you step by step how to make this glitter/shiny card.  I am really disappointed that my Cover a Card didn't show up well in this photo, but I have close-ups to share that will give you a better idea.
 
First, I cut out the Easter Cutout Square (DIE264-ZZ).  It is an intricate die, so I used a metal shim to cut it out.  Instead of gluing it down, I derided to adhere it to a double sided adhesive sheet from Elizabeth Crafts:


As you can tell from the picture, some of the areas weren't completely pressed down into the adhesive sheet.
 
 
I used the backing of the adhesive sheet that I had peeled off to press the cut out into the sticky surface.  The backing is waxy, so It didn't stick to the adhesive like paper or my fingers would.


Next, I sprinkled glitter onto the exposed sticker areas


I pressed the glitter into the sticker paper with my finger


I stamped the Diagonal Weave background (CC174) onto a dark pink card with dark pink ink and embossed it with clear powder.  This is the same Cover a Card I used yesterday,  I wanted to show you it in a different color and using a different technique.  Embossing a Cover a Card with clear powder gives you a similar look to glazed patterned papers you can buy.


I often don't emboss directly onto my card because it can cause warping (pictured above).  Instead, I emboss a layer and add it to my notecard.  To get rid of the curl, I turned the card over and stacked heavy books on top and let it sit for a bit.  It flattened everything back out.

To finish the card, I added the Tied Line die (DIE278E) and added the Hoppy Easter saying (A5121).

Monday, March 9, 2015

IO Die Hop- Day 1


Welcome to the Impression Obsession Spring Designer Die Hop!

We have some beautiful new dies to share AND Gift Certificates to give away!

 The hop will start each day (March 9th – March 11th) with a list of participants on the Impression Obsession Blog at 6am EST.  The more blogs you visit each day… the better chance you will have to win a $25 Impression Obsession Gift Certificate!!!

All of the new dies you’ll be seeing on the hop are available NOW!

Hi everyone!  After complaining about the weather in my last post, I have to say that it was an absolutely glorious day today.  It really did feel as though Spring is coming.  I can't wait to switch to making cards featuring flowers, chicks, eggs, and......bunnies!

For my card today, I used the new Mini Bunnies die (DIE269-N).  It cuts out 15 bunnies at once as well as four pieces of grass.  I used a subset of the bunnies and cut some extra grass.  For the Easter eggs, I cut them from the Girl With Easter Basket die (DIE260-I).  They were cut from white paper and then colored with various Copic markers.  

As you probably know by now, I love using my Cover a Card backgrounds instead of patterned paper.  I love the versatility of choosing my own colors.  To make the background, I started with a kraft notecard and stamped it with the Diagonal Weave background (CC174) in brown ink.  It reminded me of a basket weave, which in turn reminded me of Easter.  For the sky, I stamped the Cover a Card Clouds background (CC091) onto white cardstock using blue ink.  I cut out a strip of the clouds and added it to my kraft notecard.  Here is a close up of the clouds.  I love the realistic look you get:


To finish the card, I added the Hippity Hoppity saying (B11024).

Want to see more of the new dies?  Check out the other designers:

Thursday, March 5, 2015

IO Challenge- Think Spring


Greetings everyone.  Today we are celebrating Spring.  It sure doesn't feel like Spring though!  We are expecting quite a bit of snow today, so it is hard to picture flowers and warm breezes. 


For my first card, I wanted to share one of the new Easter dies.  I used the Girl With Easter Basket DIE260-I along with the Grass Border die DIE060-I. For the background, I used watercolor paper as well as some yellow and hot pink Dylusion sprays.  I sprayed a bit too much and over blended the colors more than I wanted.  I ended up with a bit more orange than I intended.


I wasn't planning on doing a second card, but when I told my friend Chrisi that I had to make a Spring card to post but wasn't feeling very "Springy" with all the cold weather and snow, she said I should make a winter card with a Spring flower peeking through.  So, I made this card for her:


I colored the Daffodil E12000 with watercolor pencils and added the Welcome Spring saying  A5499. For the background, I sprayed some white irRESISTible spray.  I had never used it before, but I quite liked it.  It added some texture and kind of looked like snow.  Here is a close up of the spray.  It is completely dry, so you can see it is actually kind of glossy:


Need a little Spring Inspiration  Check out the other designers: