Thursday, April 24, 2014

Coloring with Cover a Card Backgrounds


Hello everyone.  Today I wanted to talk a little about the versatility of Cover a Card backgrounds.  For my card today, I chose the Dotted Argyle background (CC175) and colored it with Copic markers.  I chose browns that would work well with my coffee stamps (stamp and saying from the clear set called Smell the Coffee CL156).  One of the advantages of coloring your own backgrounds is that you can use the same colors for your background that you use to color your image.  You know you will get a perfect color match and won't have to find a decorative paper that will coordinate.

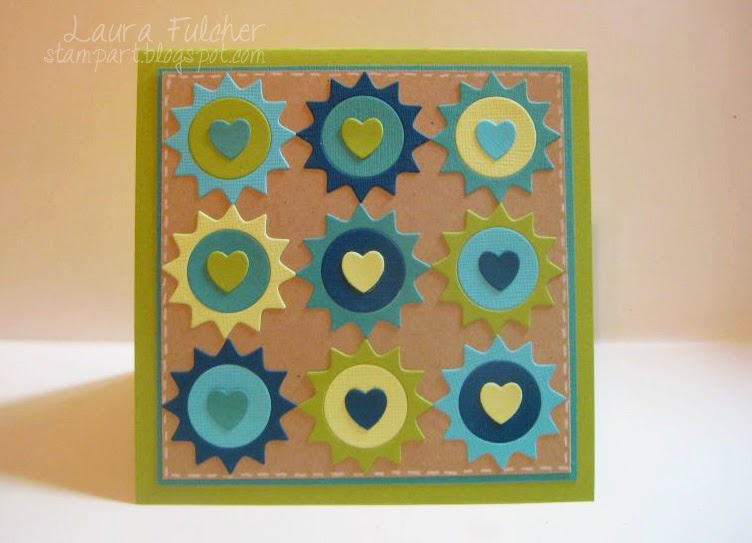
Another advantage is that you can change the colors for different occasions.  Here are some samples I made with various color combinations:

For the first set, I was thinking of a card for a baby girl, a Valentine's day card, and a Summer card.  I used Copic markers for all three.


For the next batch of backgrounds, I made two for Halloween and one for Christmas.  Once again I used Copic markers:


For my last batch of backgrounds, I thought about making a background for a baby boy card, a patriotic card, and a Fall card.  This time I used watercolor paper, Distress Markers and a waterbrush to get a softer look.


Thursday, April 17, 2014

IO Challenge- Out of the Box

Today's Impression Obsession challenge is all about using something in a little different way than it might normally be used.  I am not always the best at thinking "outside the box," but I knew that I liked the shape of the sun die from the Sun and Moon die set (DIE 163-C) and thought it would look good in colors other than yellow.

I cut out a bunch of suns in various colors and pieced them together to build a graphic design.  It reminded me a bit of a quilt pattern, so I added some white stitching around the card with a white Prismacolor pencil.  To finish the card, I added some hearts I cut from the Conversation Heart Block die (DIE 133-C) since I thought it would  give the card a more patchwork look.

Be sure to check out the other designers to see how they were looking at things from a different point of view:
Laura Fulcher - you are here
Vicki Garrett


Thursday, April 3, 2014

IO Challenge- You are My Sunshine

Well, I am starting to believe that we really will have some warm, sunny weather soon, so a "sunshine" challenge is perfect.  Plus, I hate to say it, but I have a couple of people in my life that are going through tough times and could use a happy/sunny card.


I never know in advance what the other designers are going to do, but I have a feeling a bunch of us used the brand new Sun and Moon die (DIE 163-C).  It cuts the center of the sun separately from the rays so that you can use different colors of paper or mix and match paper patterns to assemble your sun. 


For my card, I placed an oval stencil onto white cardstock and sponged some Antique Linen and Tumbled Glass Distress Ink onto the card.  For the water, I drew a darker blue line with a blue watercolor pencil and blended it with a dove blender.  I used a boat from the Sunshiny Day clear set (CL183).  The sails were colored with a white Signo pen and the bottom of the boat was colored with a brown Prismacolor pencil.  The saying is called Sunshine and Joy A5506.  I finished the card by popping up the sun, adding some natural twine and gluing a little shell to the twine.

Special note...after I took a picture of my card and uploaded it, I changed my card and added some clear Wink of Stella to the sun rays.  Yep.  It is better with the sparkle!

Need a little more sunshine in your life?  Check out what the other designers created:

Laura Fulcher - you are here
Vicki Garrett

As always, thanks for stopping by my blog!